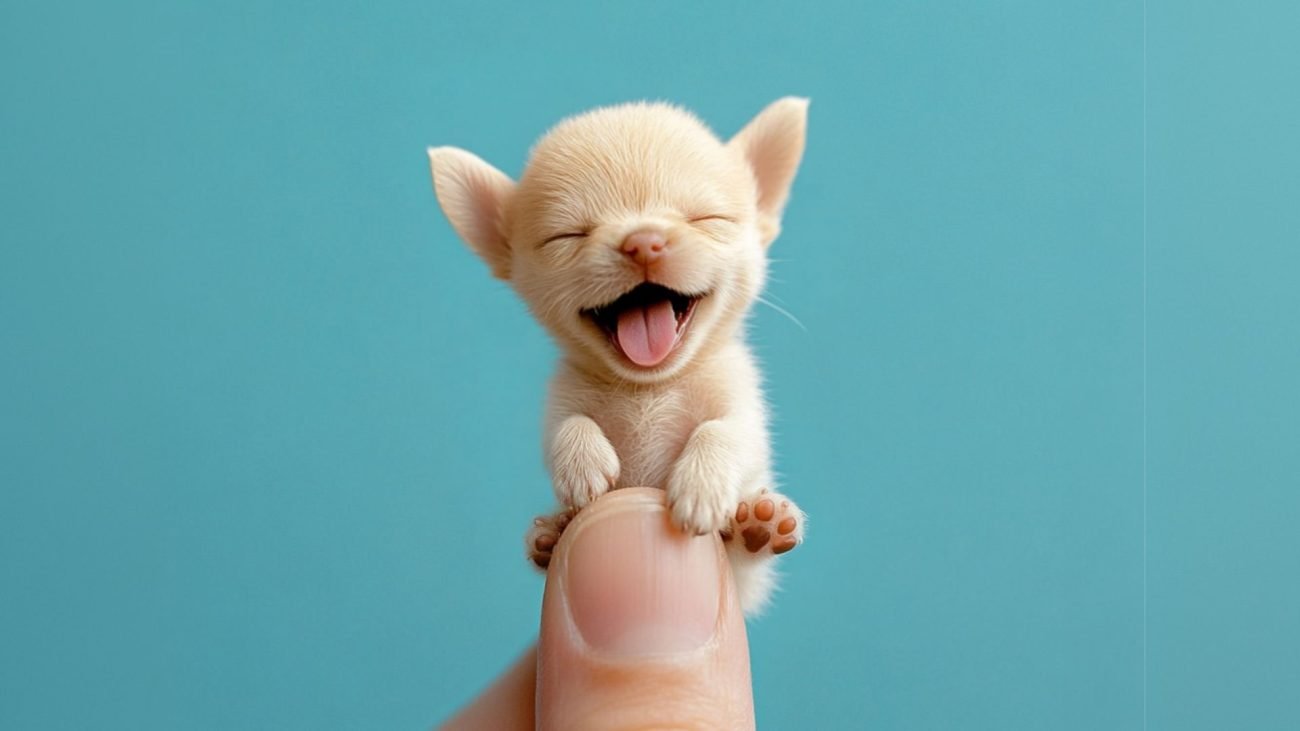
When generating images in MidJourney, camera angles can completely change the way a scene feels. The same subject can appear powerful, vulnerable, mysterious, or cinematic depending on the perspective used. Whether you want a close-up portrait that captures every tiny detail or a sweeping landscape that tells a grand story, understanding how to use camera angles effectively can make a huge difference.
The Foundation: Eye-Level Shots
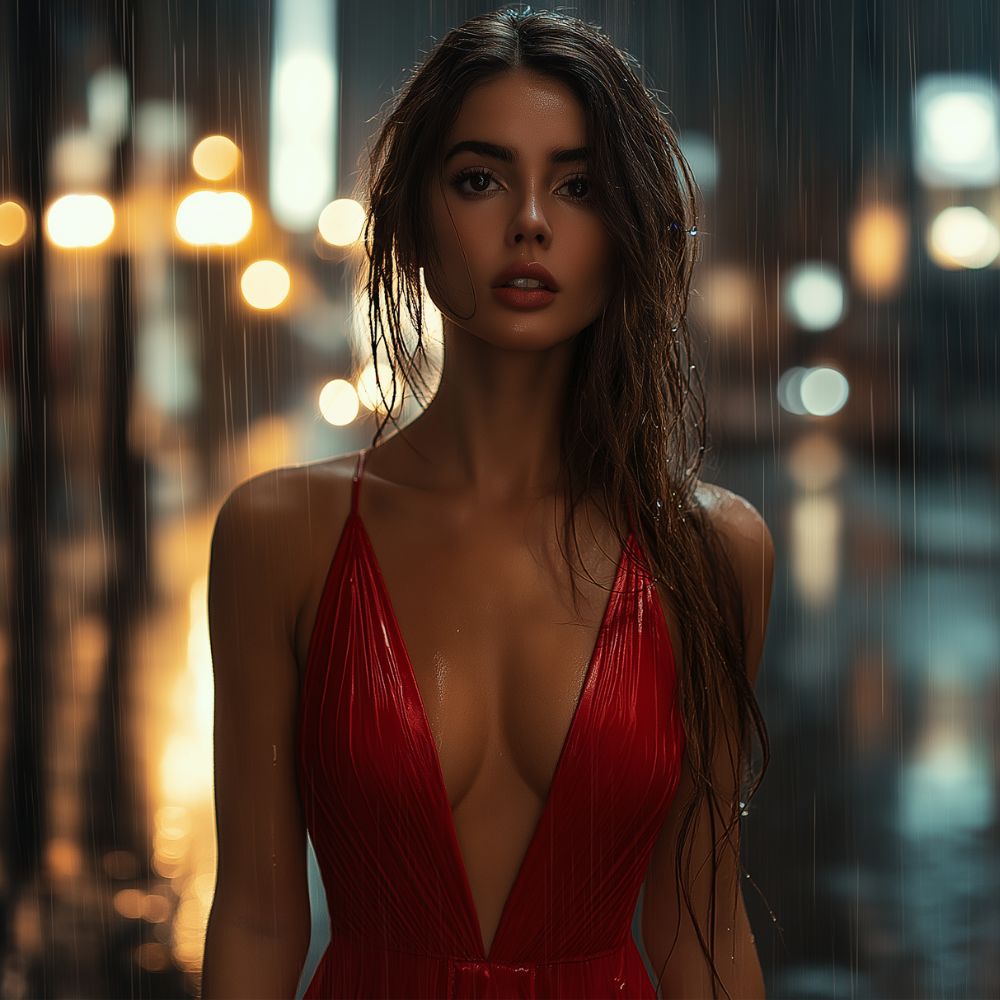
If you don’t specify a camera angle in your MidJourney prompt, it will likely default to an eye-level shot. This means the subject is viewed as if you were standing right in front of them, creating a natural and neutral perspective.
This can be a great choice for portraits, product shots, or anything that needs to feel grounded and realistic. A character standing in a city street, a cozy cottage in the woods, or a person gazing at the horizon—eye-level shots are simple but effective.
Try this:
“woman in a red dress, standing in a rainy city street, eye-level shot, cinematic lighting”
This keeps things natural, as if the viewer is right there, watching the moment unfold.
Making a Statement: Low-Angle Shots
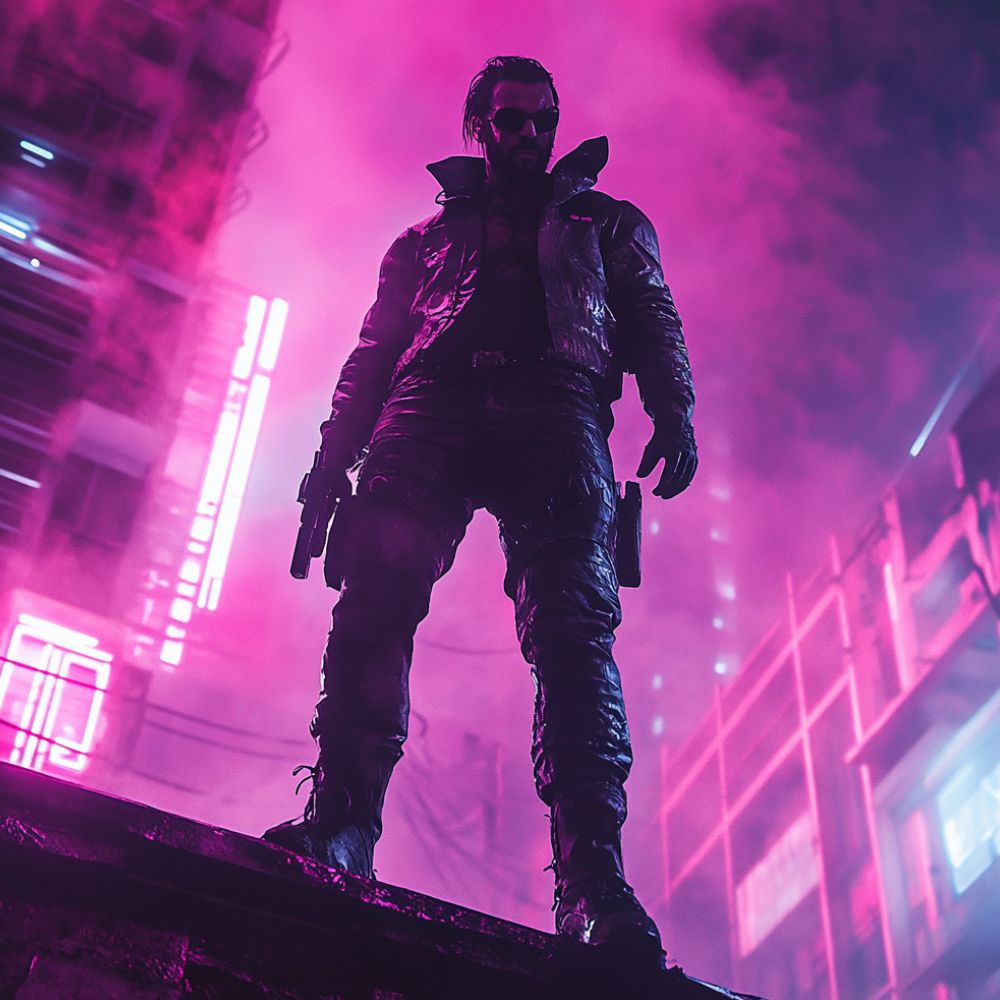
If you want your subject to look powerful, dominant, or even intimidating, a low-angle shot is the way to go. Taken from below, this perspective exaggerates height and makes things seem larger than life.
Think of a superhero standing on a rooftop, looking down at the city. A towering skyscraper stretching into the clouds. A medieval knight, sword raised, preparing for battle. A low angle makes the viewer feel small in comparison, adding drama and authority to the scene.
Try this:
“cyberpunk hero, standing on a neon-lit rooftop, low-angle shot, moody lighting”
Or, for a different mood:
“old oak tree, towering over a tiny cottage, low-angle shot, warm sunset glow”
This kind of perspective is often used in movie posters and comic book panels because it commands attention.
Vulnerability and Perspective: High-Angle Shots
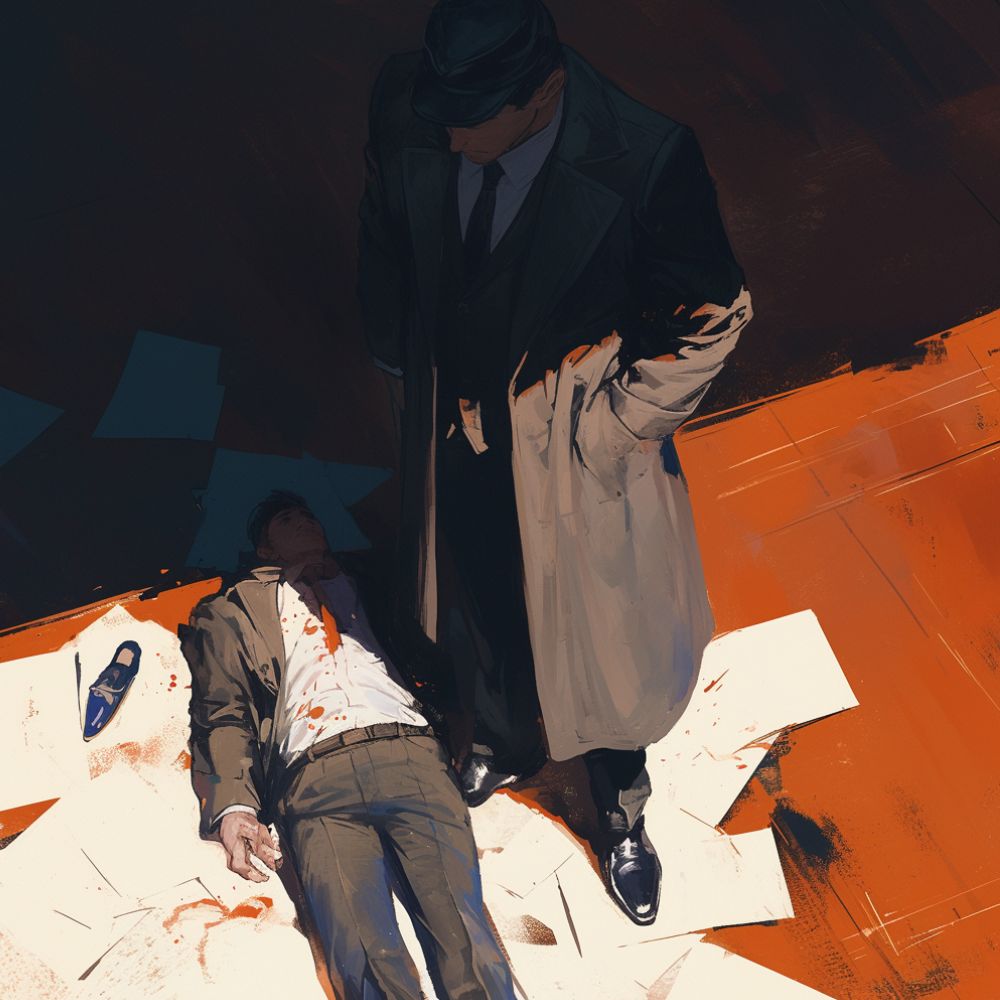
A high-angle shot, where the subject is viewed from above, does the opposite—it makes them seem smaller, weaker, or more exposed. It can create a sense of vulnerability, show off an entire landscape, or make a character seem lost in their surroundings.
Imagine a child looking up at a towering castle. A lone traveler in a vast desert. A detective standing over a crime scene, taking everything in from above. A high-angle shot can be used to highlight emotions like loneliness, curiosity, or even danger.
Try this:
“small child looking up at a giant castle, high-angle shot, fairy tale lighting”
Or, for a more cinematic feel:
“private detective, standing over a body, high-angle shot, noir lighting”
This is a great technique when you want to emphasize scale or create a sense of distance between the viewer and the subject.
Intimacy and Detail: Close-Up Shots
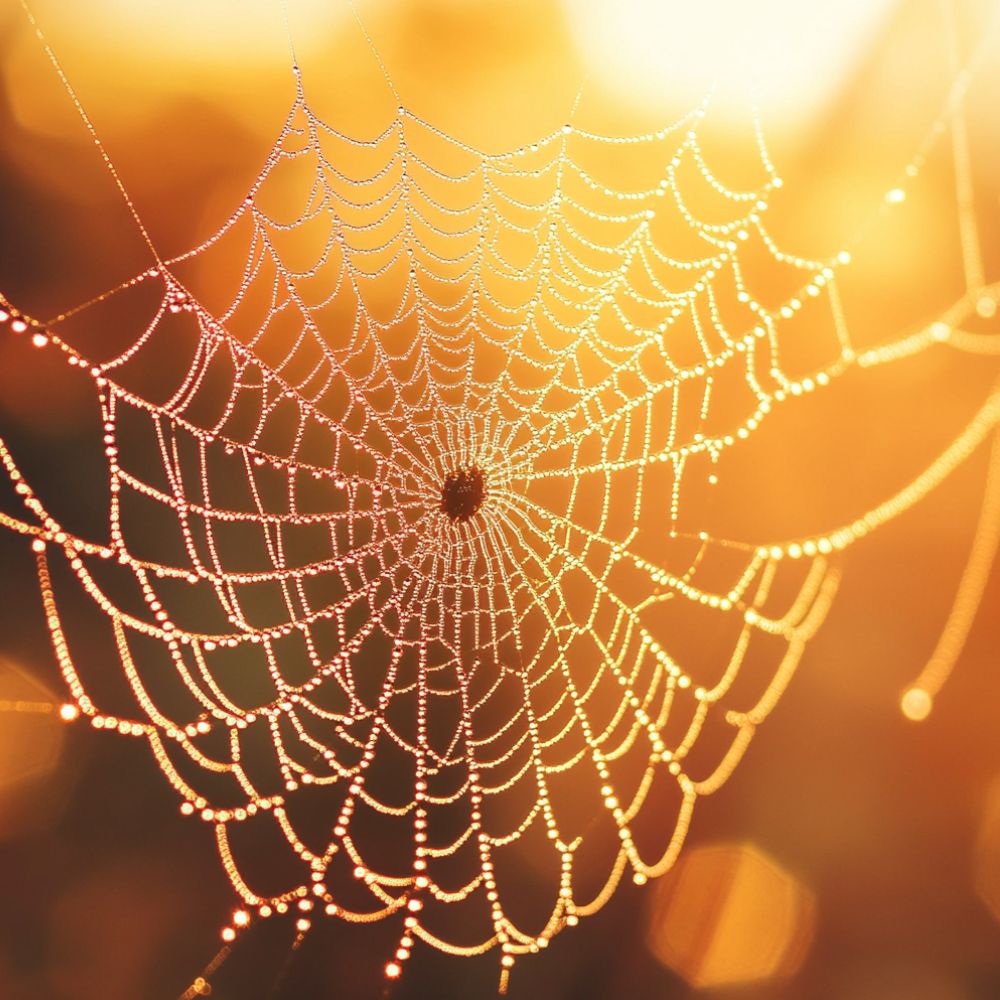
Sometimes, the best way to tell a story is to get really, really close. Close-up shots draw the viewer into the tiny details—wrinkles on an old man’s face, the delicate texture of a butterfly’s wing, the reflection of city lights in someone’s eyes.
If you’re generating character portraits in MidJourney, adding “close-up shot” can help focus on emotions and expressions. It’s also useful for product images, artistic textures, and anything where detail matters.
Try this:
“elderly man, close-up shot, deep wrinkles, warm lighting, high detail”
Or, for something nature-inspired:
“dew-covered spiderweb, close-up shot, soft morning light, macro photography”
Close-ups are often used in dramatic moments in film and photography because they bring the viewer right into the subject’s world.
Expanding the Frame: Long Shots and Wide Shots
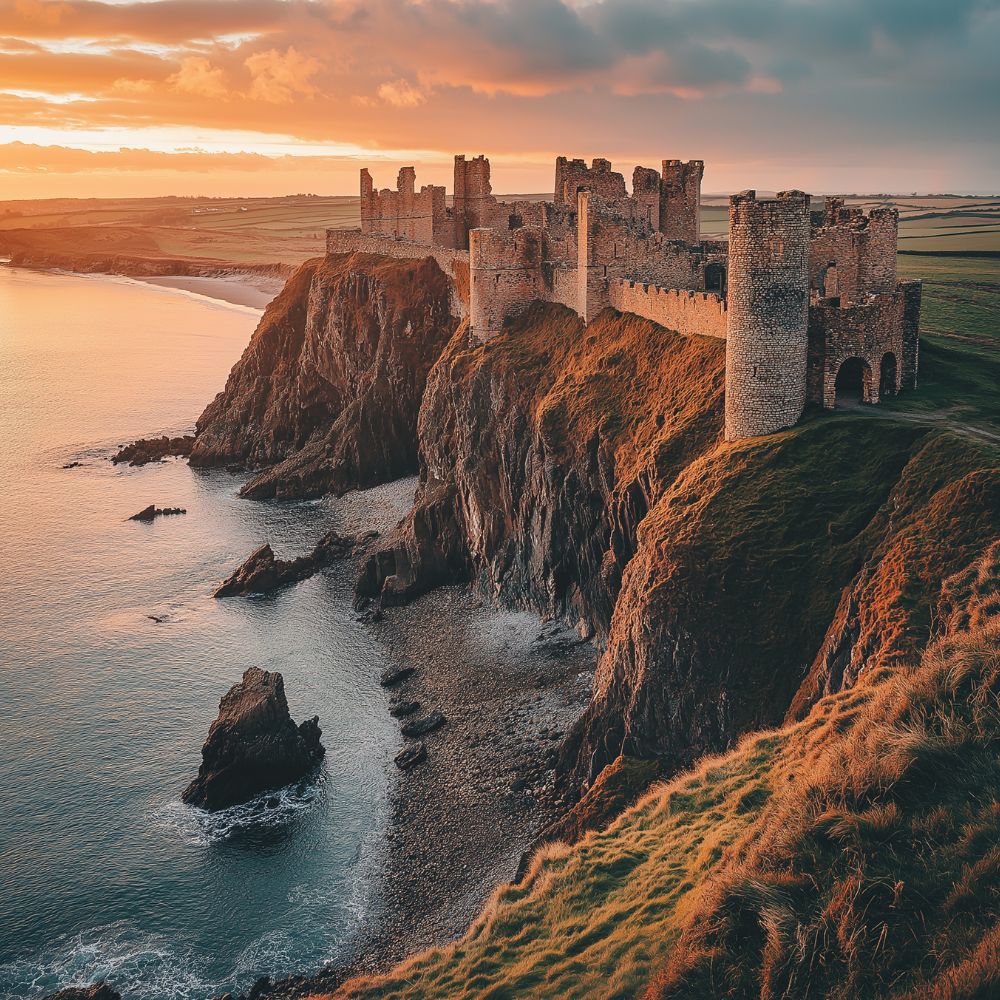
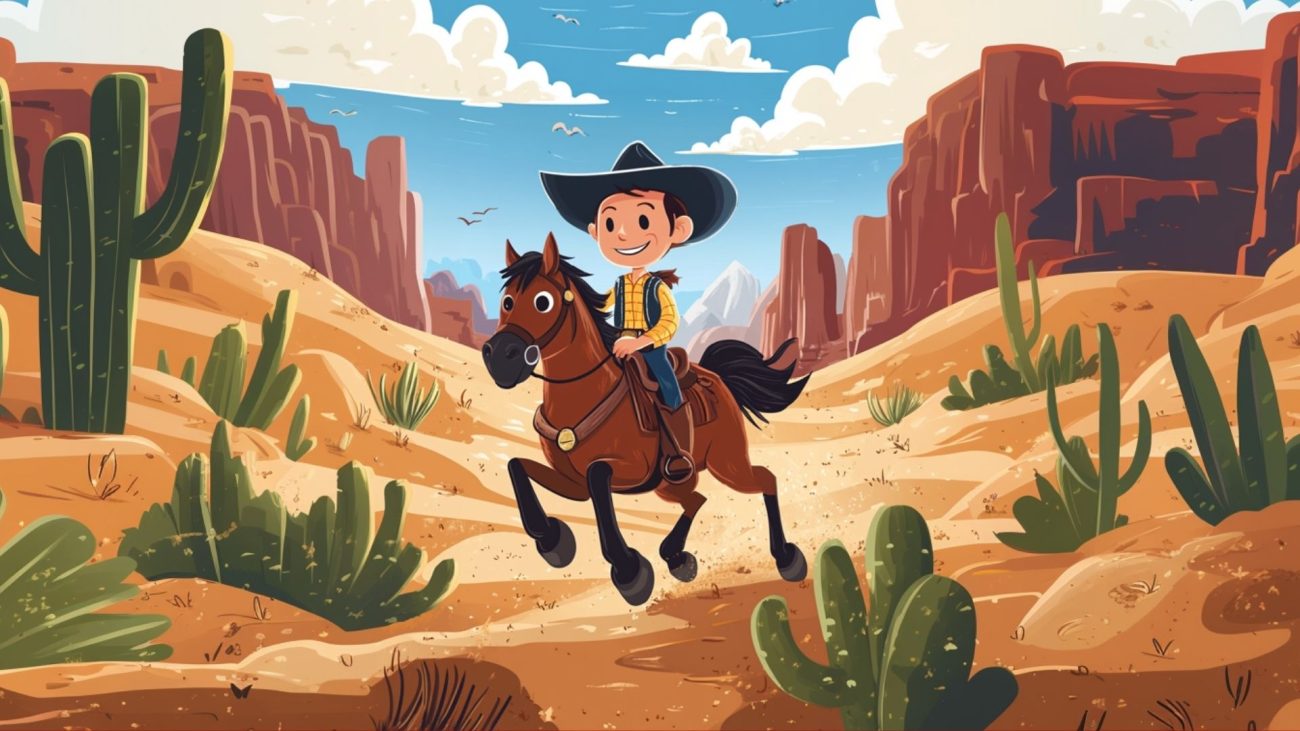
If you want to capture an entire scene—perhaps a warrior standing alone on a battlefield, or a horse galloping through a misty valley—a long shot (also called a wide shot) is the best choice. This lets the background play a bigger role, giving a sense of place and atmosphere.
Long shots work well when you want to emphasize scale and movement. A tiny figure against a massive mountain range. A cowboy riding into the sunset. A spaceship drifting through space, surrounded by endless stars.
Try this:
“lone traveler, long shot, walking through a foggy forest, cinematic lighting”
Or, for an epic landscape:
“ancient castle ruins on a cliffside, long shot, golden hour lighting”
Wide shots create a feeling of adventure and exploration, making them perfect for fantasy and sci-fi scenes.
Playing with Perspective: Dutch Angles and Oblique Shots
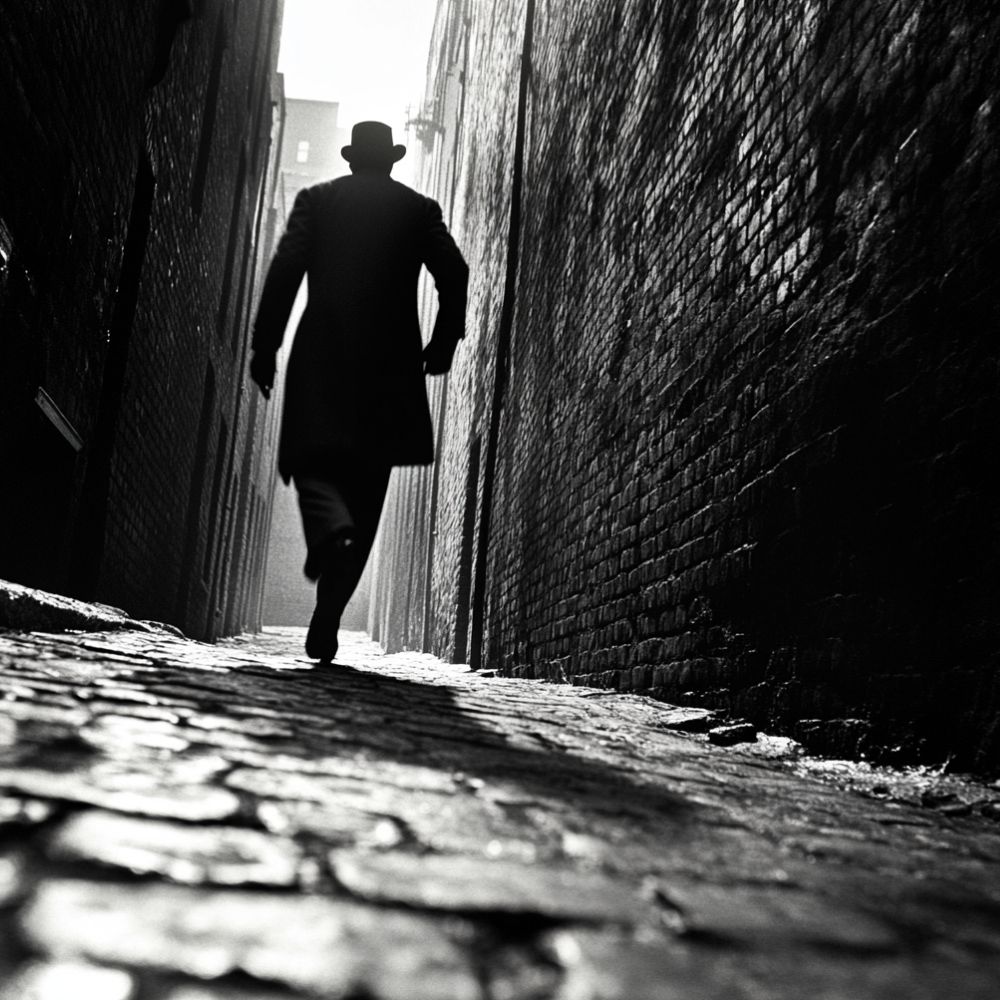
If you want to add energy or unease to your MidJourney image, try using a Dutch angle (also called a tilted or oblique shot). This is where the camera is tilted at an angle instead of being straight, making the scene feel off-balance or dramatic.
Filmmakers often use Dutch angles in action sequences, horror movies, or dreamlike scenes because they create a sense of movement and instability. A detective bursting through a door. A villain looming over their victim. A futuristic city with distorted, angled skyscrapers.
Try this:
“noir detective running through an alley, Dutch angle, dramatic shadows”
Or, for something surreal:
“dreamlike city, tilted Dutch angle, neon cyberpunk colors”
This technique works particularly well for unsettling or high-energy images, where everything feels slightly chaotic.
Reflections, Macro Shots, and Creative Framing
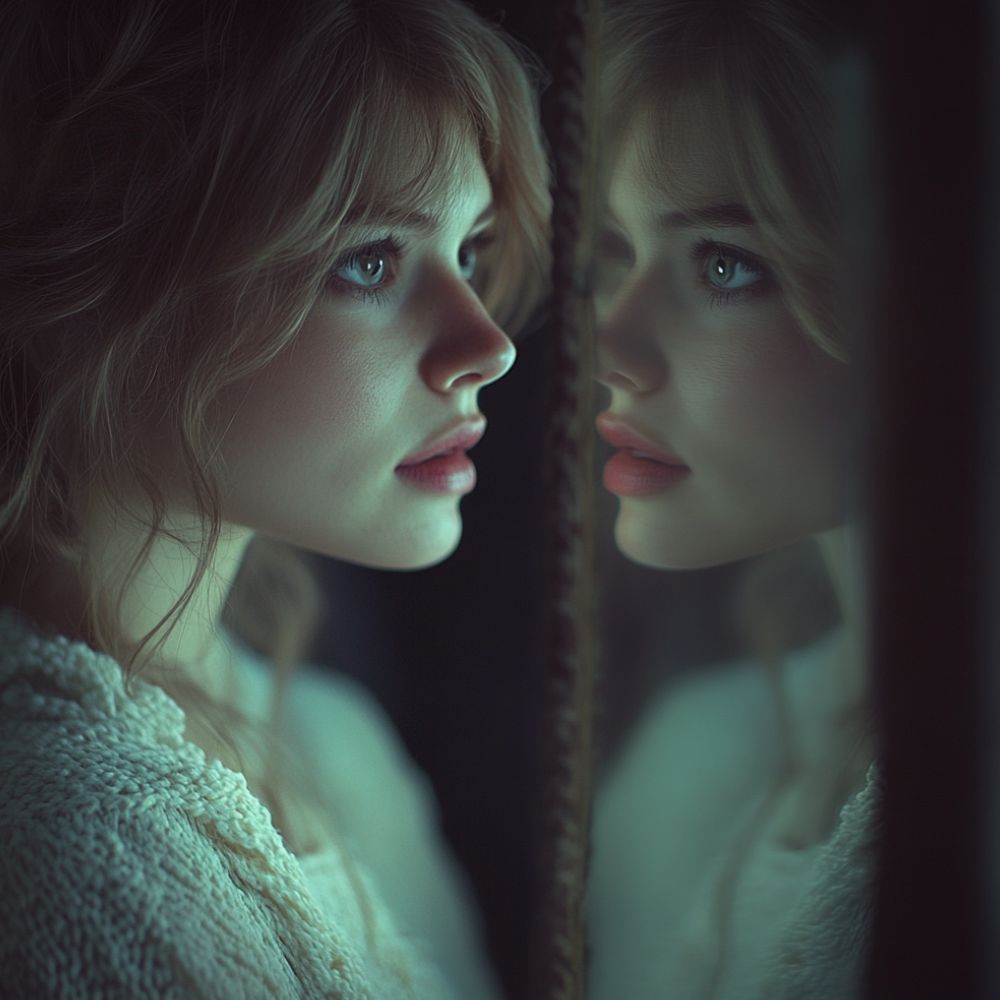
There are many other ways to add visual interest to your MidJourney images using camera angles:
- Reflection shots can create a dreamlike effect, using mirrors, water, or glass.
“mysterious woman looking into a mirror, reflection shot, moody lighting” - Macro shots capture tiny details, perfect for nature photography.
“bee collecting pollen, macro shot, ultra-HD detail” - Over-the-shoulder shots can add a storytelling element, showing the world from a character’s perspective.
“medieval knight, over-the-shoulder shot, battlefield ahead”
Experimenting with different angles allows you to control the emotion and impact of your images, whether you’re aiming for realism, drama, or a sense of mystery.
Final Thoughts: Bringing Your MidJourney Images to Life
Camera angles aren’t just technical details—they’re storytelling tools. By choosing the right perspective, you can completely change how your image is perceived.
- Want power? Use a low angle.
- Want vulnerability? Go for a high angle.
- Want deep emotion? Try a close-up.
- Want epic storytelling? Use a long shot.
Once you start incorporating these angles into your prompts, you’ll see how much they influence the final result. MidJourney can create stunning images, but understanding composition and perspective will help you get even better results.
So go ahead—start experimenting with camera angles, and see how they change the way your AI-generated images tell their stories!